Sending and receiving email with Thunderbird Mail in Windows
Mozilla Thunderbird is a fully featured, secure and very functional email client. Here we use "test@dynu.biz" as an example to configure this email client.
STEP 1: Add an email account
After opening Thunderbird, click "Email". A window will show up to let you set up an email account.

In the following window, choose a name for your account, which would be the name that people see when they receive email from you. Here we will just use "Test". Then put your email address as the user name and the password you that set up for this account.

STEP 2: Set up incoming and outgoing mail server
When you use our full service email and your domain's DNS is also hosted with us, our system automatically adds autoconfig information to your domain's DNS records. Thunderbird will auto-detect the incoming and outgoing mail server information. You can click Done to continue to the next step.

If Thunderbird cannot find the server configuration, you may configure the server manually. You may find the incoming and outgoing mail server information in each domain's email settings in the Dynu control panel.
INCOMING SERVER
Protocol: IMAP
Hostname: yourdomain-extension-mail.dynu.com. In our case, dynu-biz-mail.dynu.com.
Port: 993
Connection Security: SSL/TLS
Authentication method: Password
Username: test@dynu.biz
OUTGOING SERVER
Protocol: SMTP
Hostname: yourdomain-extension-smtp.dynu.com. In our case, dynu-biz-smtp.dynu.com.
Port: 465
Connection Security: SSL/TLS
Authentication method: Password
Username: test@dynu.biz

STEP 3: Complete setup
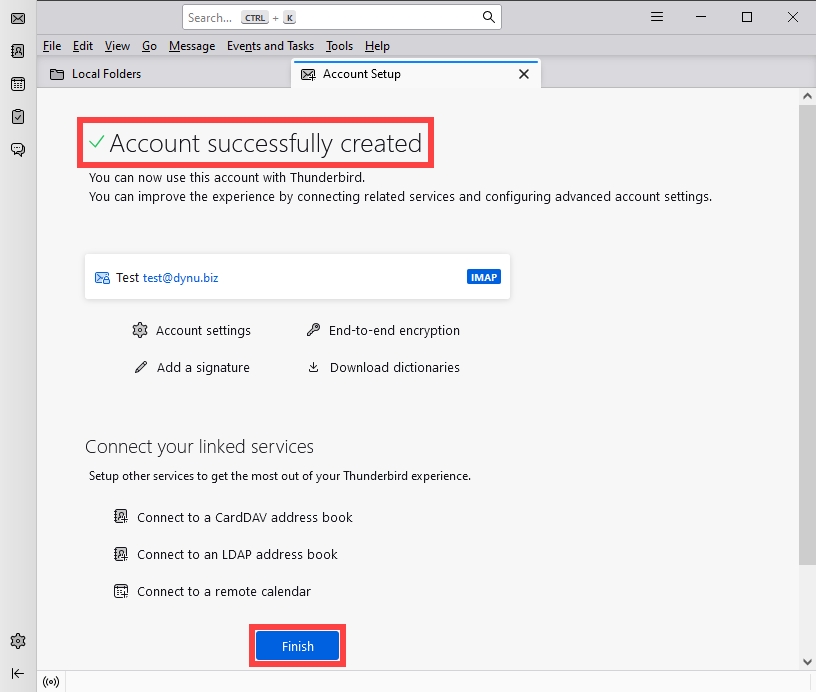
Now you can see your account has finished setup. You will be able to send and receive email using test@dynu.biz.

NOTE: If you are using POP3 protocol, the incoming server address remains yourname-extension-mail.dynu.com, but the port becomes POP SSL port 995. If you are using non SSL port, please refer here for port information.
